Table of Contents
This essential medicine ball guide to upper body plyometrics should be more of a P.S.A. It concerns me how many people don’t understand the components to upper body plyometrics and either train biomotor qualities they aren’t focusing on or are undertraining the values they should be developing. This medicine ball guide will walk you through the differences between some balls on the market, why weight matters, and how to understand moving with the ball.
The Medicine Ball Guide
Medicine Ball vs Slam Ball vs Reactive Ball
This medicine ball guide has to start somewhere: equipment. Many people think that all three of the aforementioned balls are the same. I’ve actually contributed largely to a Livestrong article describing all of these differences. Let me break it down quickly in this medicine ball guide their main properties rather than a pro and con list.
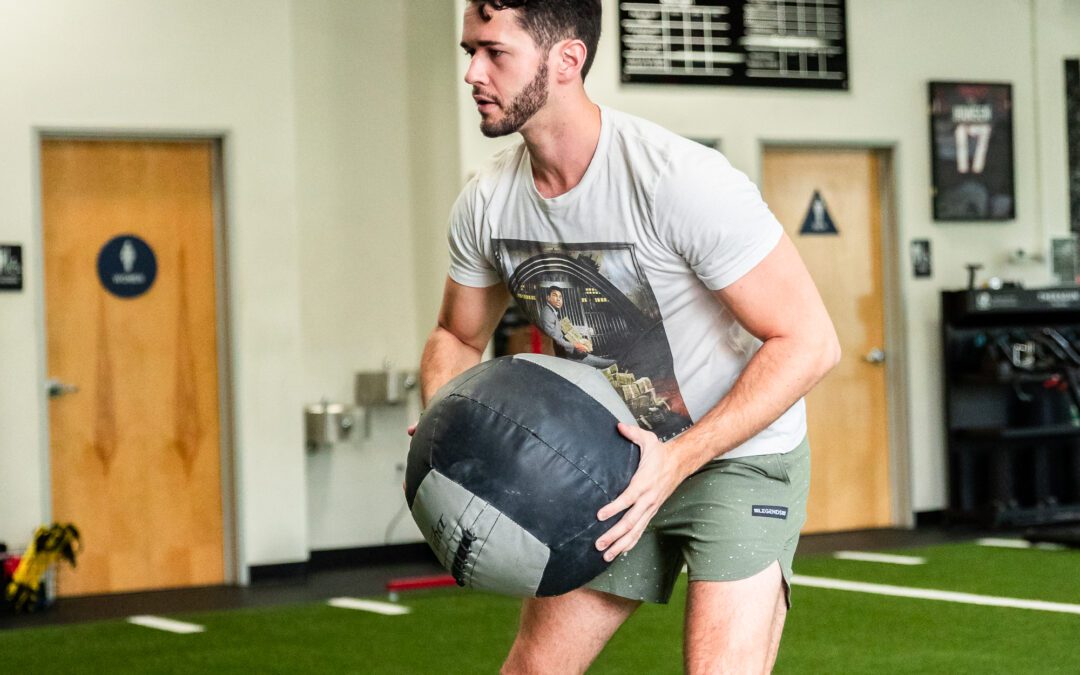
Medicine Balls can bounce a bit off the ground or off a wall. Primarily being the larger of the three, they are easier to grip and catch due to the material and because they don’t bounce as fast back towards you. For the purposes of this medicine ball guide and my own training, I use slam balls.
Slam Balls are designed for just that – slamming. You can put all of the force you want into these balls and they will have their momentum stop once hitting a wall or the ground. They are primarily weighted with sand and have a rubberrized surface.
Reactive Balls do just that: react. Primarily made of rubber, they will bounce off the ground or wall with nearly the same force and speed you threw them with – so be careful.
Understanding the differences in equipment for this medicine ball guide is like understanding the difference between a barbell, dumbbell, and kettlebell for comparison. While all of them offer resistance, the exercise is effectively changes by the equipment and suttle adaptations with those exercises can affect the body and performance levels.Later in this medicine ball guide, we’ll go over implimentation and initiation which matters. That will open up your thought process and creativity to the world this medicine ball guide will offer.
Differences in Weight
This is the critical piece that grinds my gears and rustles my jimmies when I see a lot of people using medicine balls: the weight they’re using. I’ve written before in a seperate blog piece with improving speed and agility, how using medicine balls to build non-countermovement strength for acceleration can be helpful. What not many people grasp are the differences between using a heavier medicine ball versus a lighter medicine ball. This Youtube clip of me describing those difference I think has the biggest impact in this medicnie ball guide and can be applicable to upper and lower body plyometrics and power development.
How to Move With The Ball
This is where your world can open up once you know about equipment and weight. Up to this point this medicine ball guide has discussed definitive differences with equipment and weight – now it’s time to breakdown movement. Understand that I am not trying to reinvent the wheel with some new move. I am merely going to discuss how noncounter (NCM), counter (CM), oscillatory isometric positions (typically known as fakes), and position matters.
NCM vs CM vs Oscillatory
NCM is a start position where you are instructed to move/project in the direction you want to release. For the purposes of the medicine ball guide – imagine having a ball overhead to simply throw down to the ground without momentum.
CM is a movement that has a load and unloading portion to the movement. Think of a rubber band being pulled and then released: this is our stretch reflex that allows power to transfer through our body.
Oscillatory isometrics are momentary seconds of time where your body has to stop momentum, brace, and either relax or produce additional movement. This is the simpliest answer I can provide for the sake of this medicine ball guide for plyometrics even though there is a lot that goes into this form of isometrics.
Your Starting Position(s)
This is where the medicine ball guide explodes with the milky way. Your start positions, orientations, catch positions, release positions, and additional movement are all part of the creative process. Some simple variations to start positions are as follows: half-kneeling, tall-kneeling, base, stagger, split-stance, single-leg, hip-lock, and seated are to name a few. You could be catching the ball as part of CM or oscillatory movement. You could be orientating yourself at difference angles for your catch or throw. You could make the movement complex by adding additional movement such as a backpedal, side shuffle, vector cut, jump, split-squat drop, depth drop off a box, slant board pushoff, and that’s just scratching the surface.
With the world as your oyster, this medicine ball guide should serve a purpose as a launching point. When developing a program for yourself or your athlete, or my own athletes and clients, I always make sure I can answer a “why” to every exercise selection. This medicine ball guide is launching point for.a few future blog posts where I will discuss in more detail “force and speed deficiencies in profiling” and “advanced methods with medicine ball training”. Until that point, feel free to browse more of my contributions to other media outlets and publications and blog posts to sift through some of the nuggets I’ve mentioned in this medicine ball guide.